As far as nail polish goes, lately I have been in the “been
there, done that” mood.
I did the sophisticated nude, the pops of bubble gum pink
and turquoise, the glitter, the chic French tip. I want to try new things that make people do a double-take after they glimpse my hands--something really wild!
So this weekend I went for the latest to hit YouTube and
Pinterest—the marbled nail.
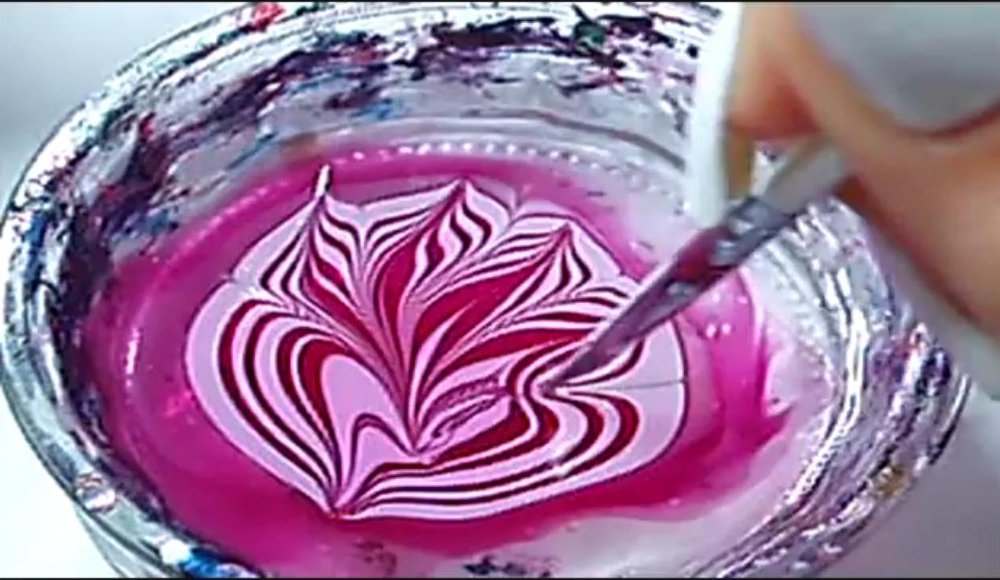
 Supposedly this is as simple as dropping a mixture of
complimentary nail polish colors on the surface of a bowl of water, swirling
for a moment, and resting your nail in it. In theory, the pretty design adheres
to the nail as you draw it out of the water, you clean up the edges, and voile!
Instant nail art with an inimitable look.
Supposedly this is as simple as dropping a mixture of
complimentary nail polish colors on the surface of a bowl of water, swirling
for a moment, and resting your nail in it. In theory, the pretty design adheres
to the nail as you draw it out of the water, you clean up the edges, and voile!
Instant nail art with an inimitable look.
Unfortunately, life doesn’t work that way.
At least, mine doesn't! Perhaps it was the nail polish I used (although I tried 4 different brands, each with unique textures) or that I didn't work quickly enough (it gobbed up instantly on me) but I ended up looking like I played in colored wet cement--all the way down to my knuckles! It was not a pretty sight. And definitely not as easy as the YouTube videos make it look.
 I'm going to need some intense ambition, extra nail polish remover, and glass of wine before I attempt that again...
 So I decided to do the ombre nail, ombre being all the fad and looking so pretty and interesting. Ombre is the fade-out that originated in light silks and scarves and things (as you see on the left) and then moved into other arenas--including beauty. It hit hair first (my hair has a slight ombre melt right now, matter of fact, though not as pretty and natural looking as the one seen above) and then into nails. It is so fun!
This is what I came up with:

 The flash went off in this one--you can see the colors better but they are not that bright in normal daylight.
How I did it:
2 nail polish colors (one light, the other darker), and a wedged makeup sponge.
I did a heavy nude coat on all of my nails, focusing the most polish at the base (where it is really going to show) and waited for it to dry. Then I took a navy blue polish, painted the narrow tip of a sponge, and dabbed a small amount (the less polish you use, the lighter the color) in the center of my nail and worked outward. I then gradually added more polish near the tip, so it got darker and darker as it faded out.
And hello, top coat!
The blue is gorgeous and even looks suitable at work--I've received several compliments on it today!
I've seen others do ombre with different accents, including glitter (which would have a starry night effect on navy blue nails like I did)

and also doing the set of fingernails as ombre--so your thumb is lightest and it darkens out to your pinkie (see below).
 This is an artistic way to make your nails unique, and isn't as demanding as water-dipped marbling. Yay for lazy(ish) beauty!
No comments:
Post a Comment